Stretchy Fun: Slime with Glue and Baking Soda Only
Remember when making slime meant buying those expensive kits from the craft store?
Not anymore!
This incredible 2-ingredient recipe is so easy that your kids will be playing with perfect homemade slime in just 5 minutes flat.
All you really need is regular white school glue and some baking soda from your kitchen cabinet, that’s seriously it!
No borax to worry about, no contact lens solution to buy, and no complicated measuring or mixing steps to follow.
Just pour, mix, knead for a minute, and you’re ready to play with amazing stretchy slime.
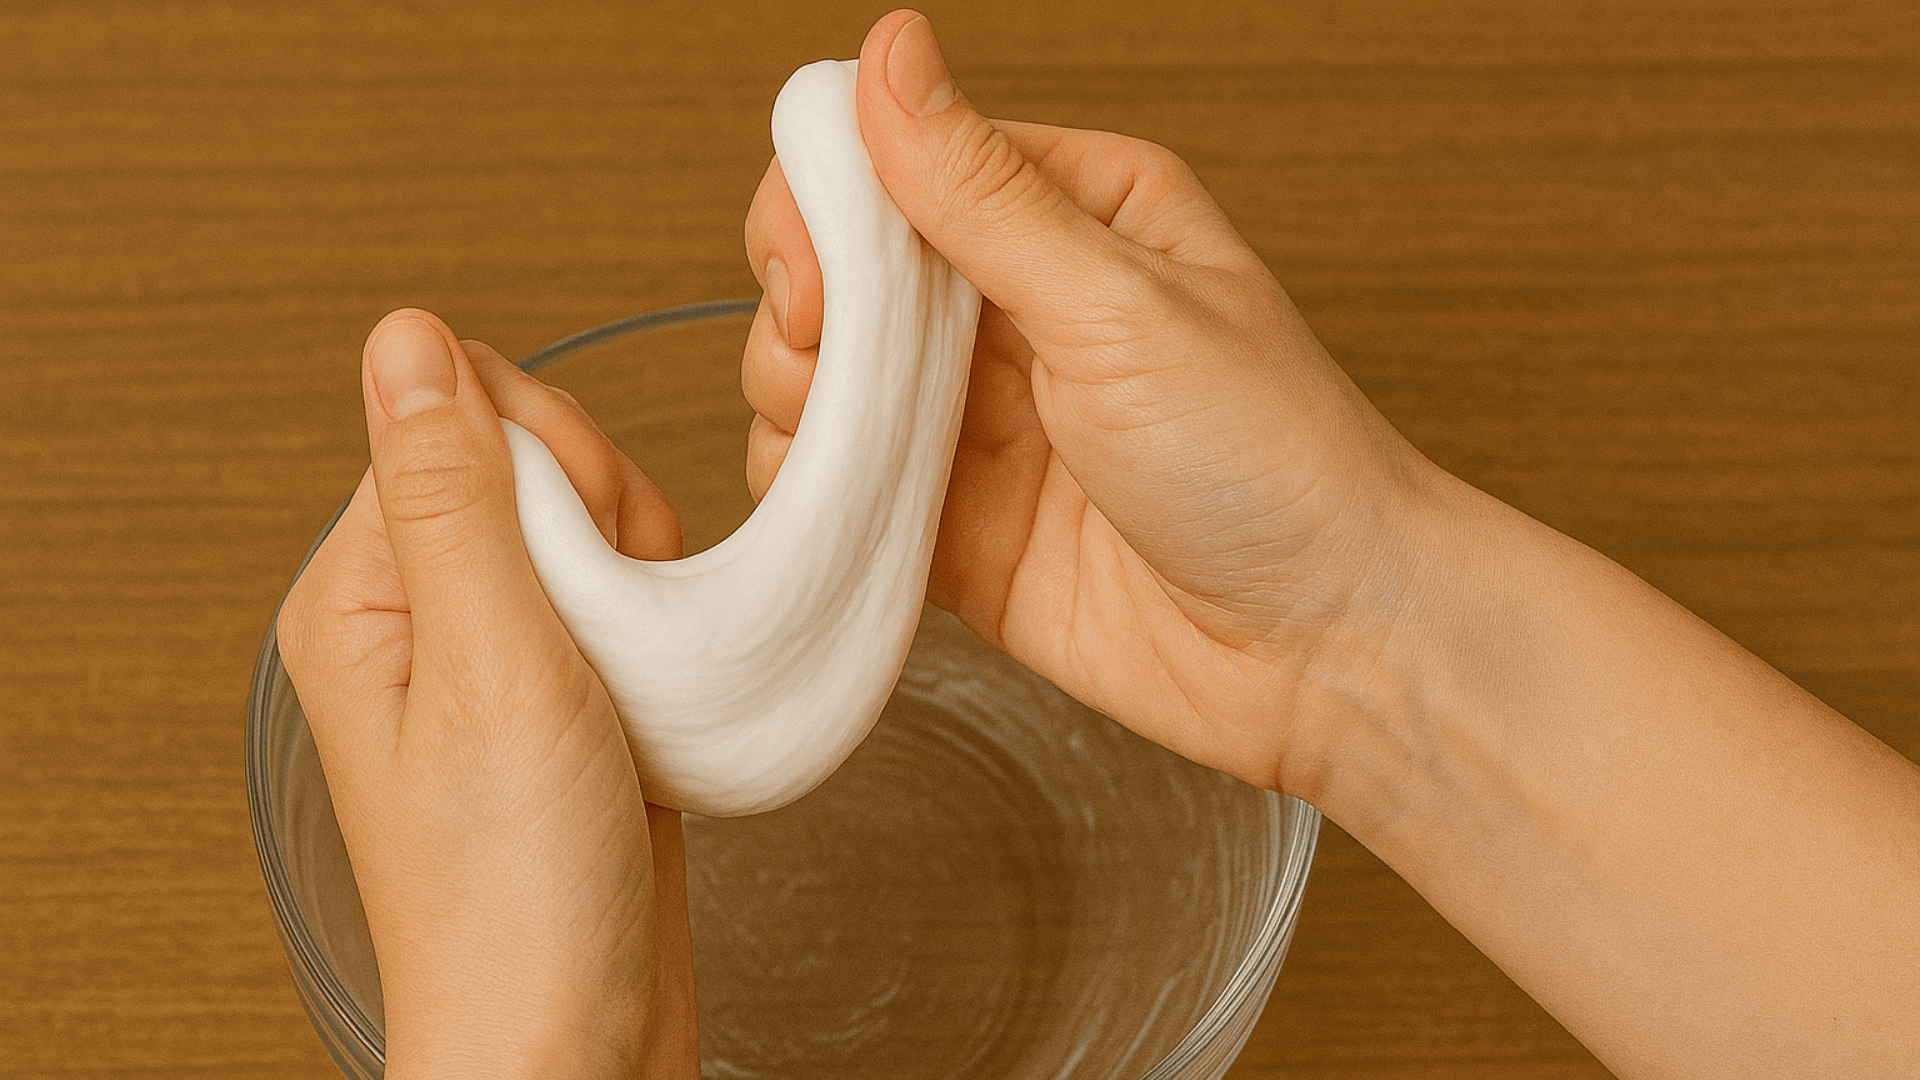
The final result is perfect stretchy slime that’s honestly just as good as any fancy store-bought version.
Ready to become the coolest parent on the entire block by making homemade slime right now?
Here’s the really cool part about making slime: you’re actually doing real chemistry in your kitchen!
When baking soda meets white school glue, it creates amazing things called polymers that scientists study.
Think of it like this: the glue molecules are holding hands in one super-long chain.
The baking soda helps all those molecules grip each other much tightly than they normally would.
That’s exactly why your runny liquid glue turns into perfect stretchy slime!
Your kids are basically doing the same polymer experiments that real scientists do in fancy laboratories: they just don’t realize they’re learning chemistry while having fun!
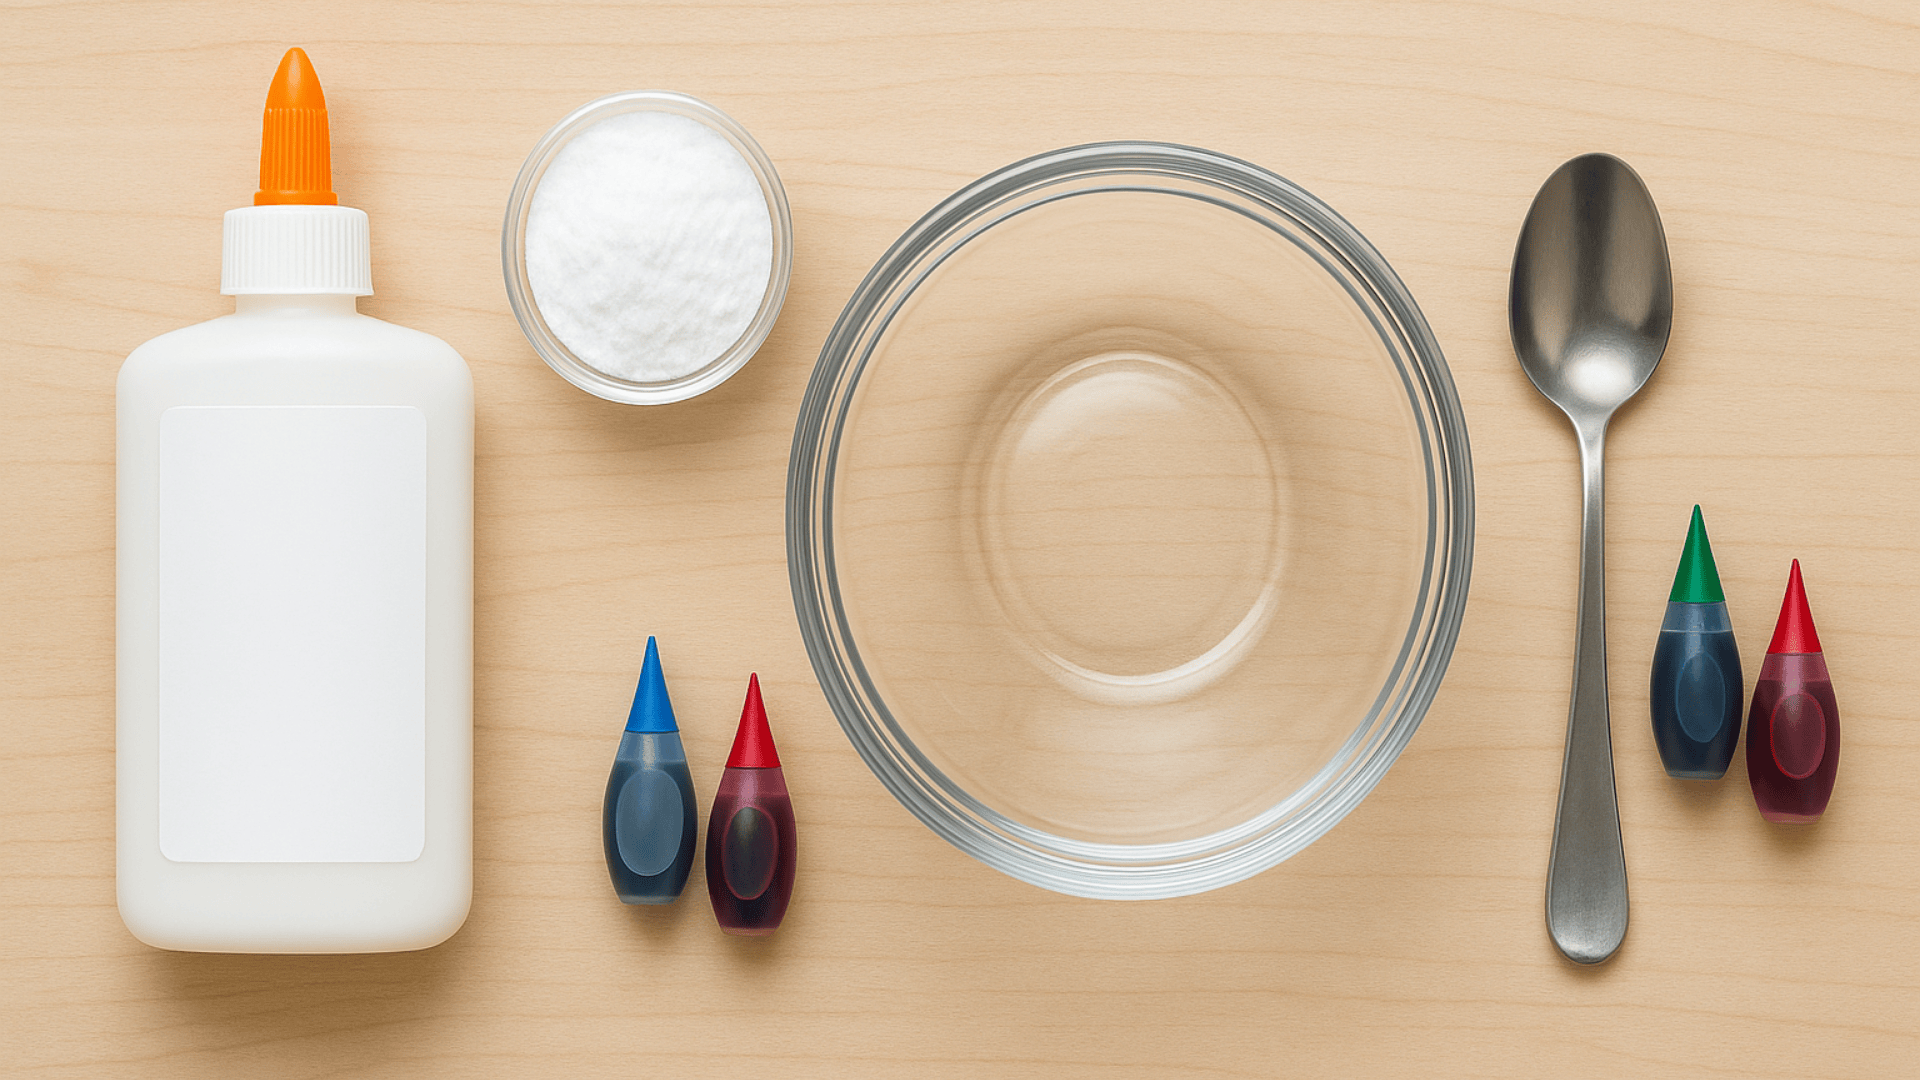
Before we start making slime, let’s gather all our supplies from around the house really quickly.
You probably already have every single thing you need sitting in your kitchen or craft drawer:
See? I told you this was going to be simple – no complicated ingredients or special tools needed!
No need to run to the store for special supplies or order expensive slime-making ingredients online.
Just raid your kitchen cabinets and craft drawer for these basic supplies you definitely already have.
Ready for the really fun part where we actually make some amazing slime together?
Making slime is honestly easier than making a simple peanut butter and jelly sandwich for lunch!
Just follow these simple steps exactly as they’re written, and you’ll have perfect stretchy slime every time.
Remember, the most important key to slime success is not rushing through the process too quickly.
Give each step the proper time it needs to work its magic and create perfect slime.
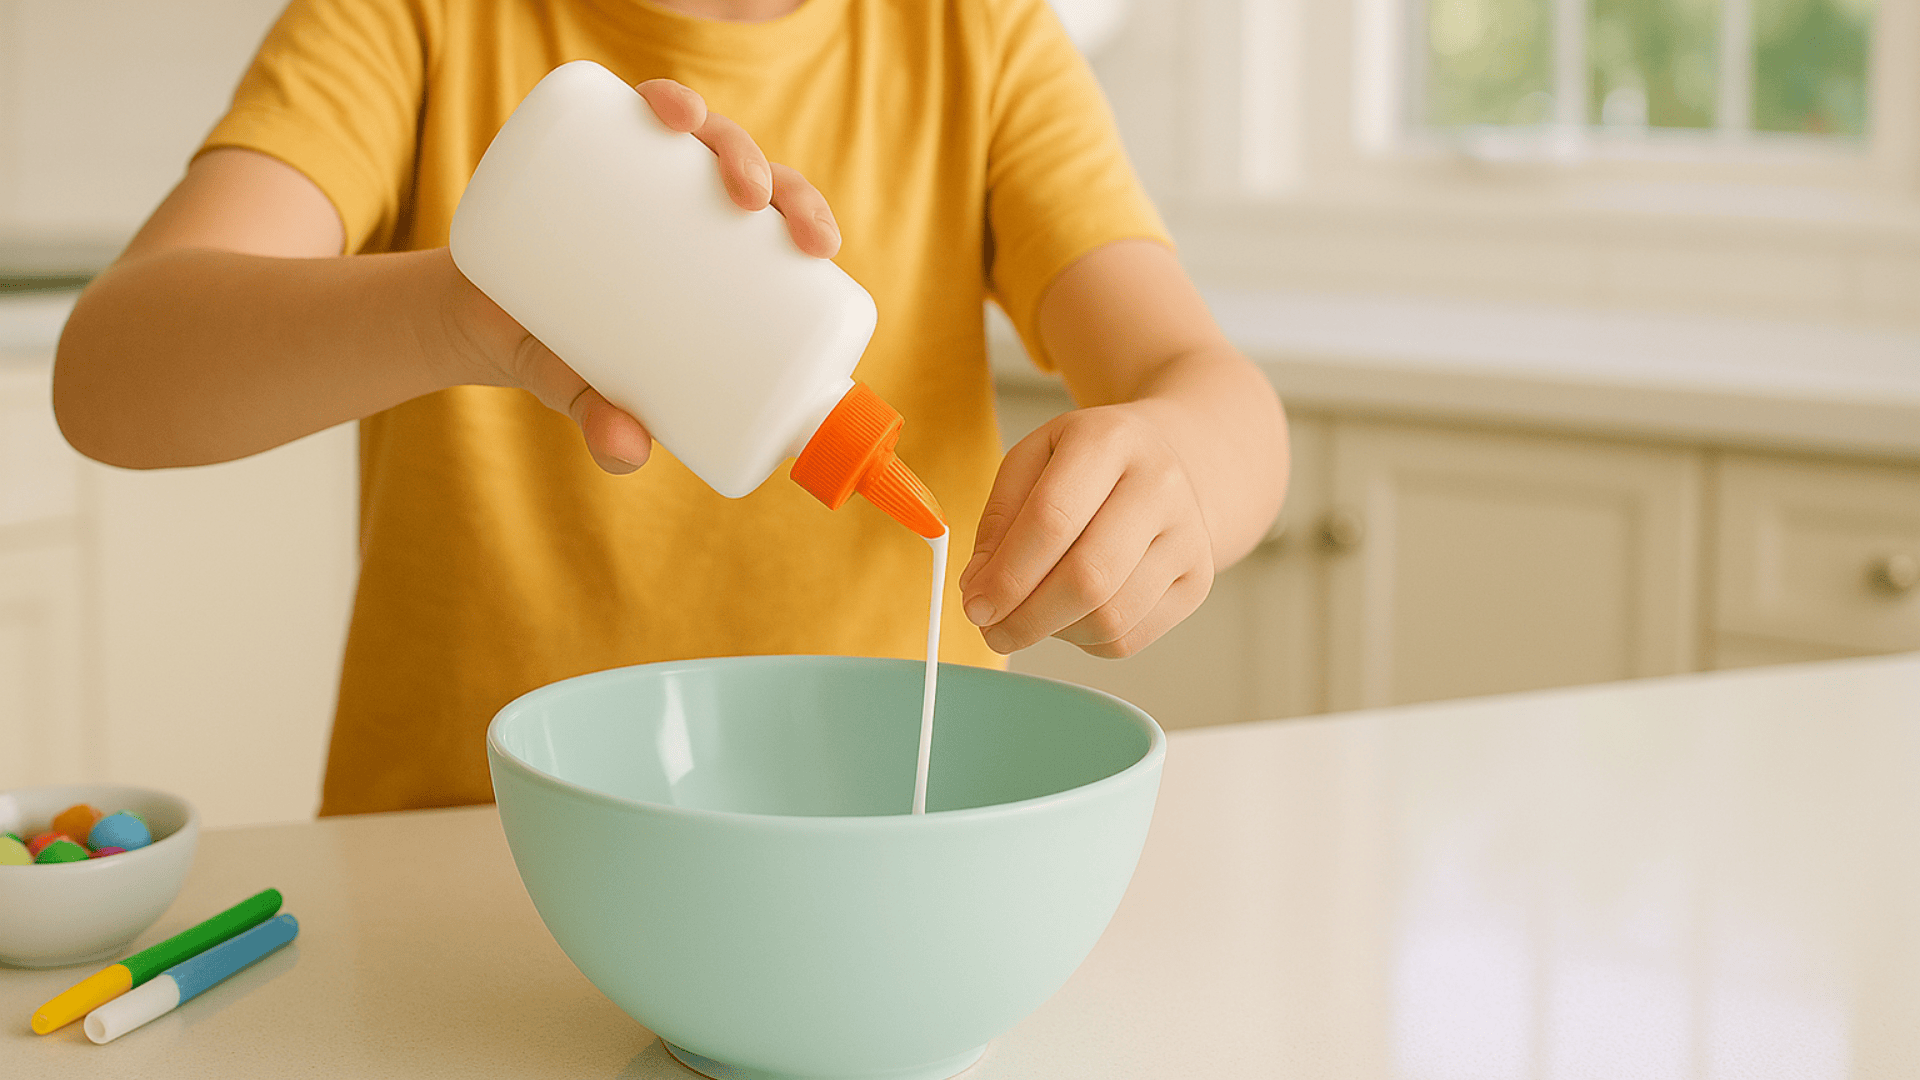
Pour your entire bottle of white school glue directly into the mixing bowl you’ve chosen to use.
Get every single last drop out – you can squeeze the bottle hard or bang it gently on the bowl’s edge.
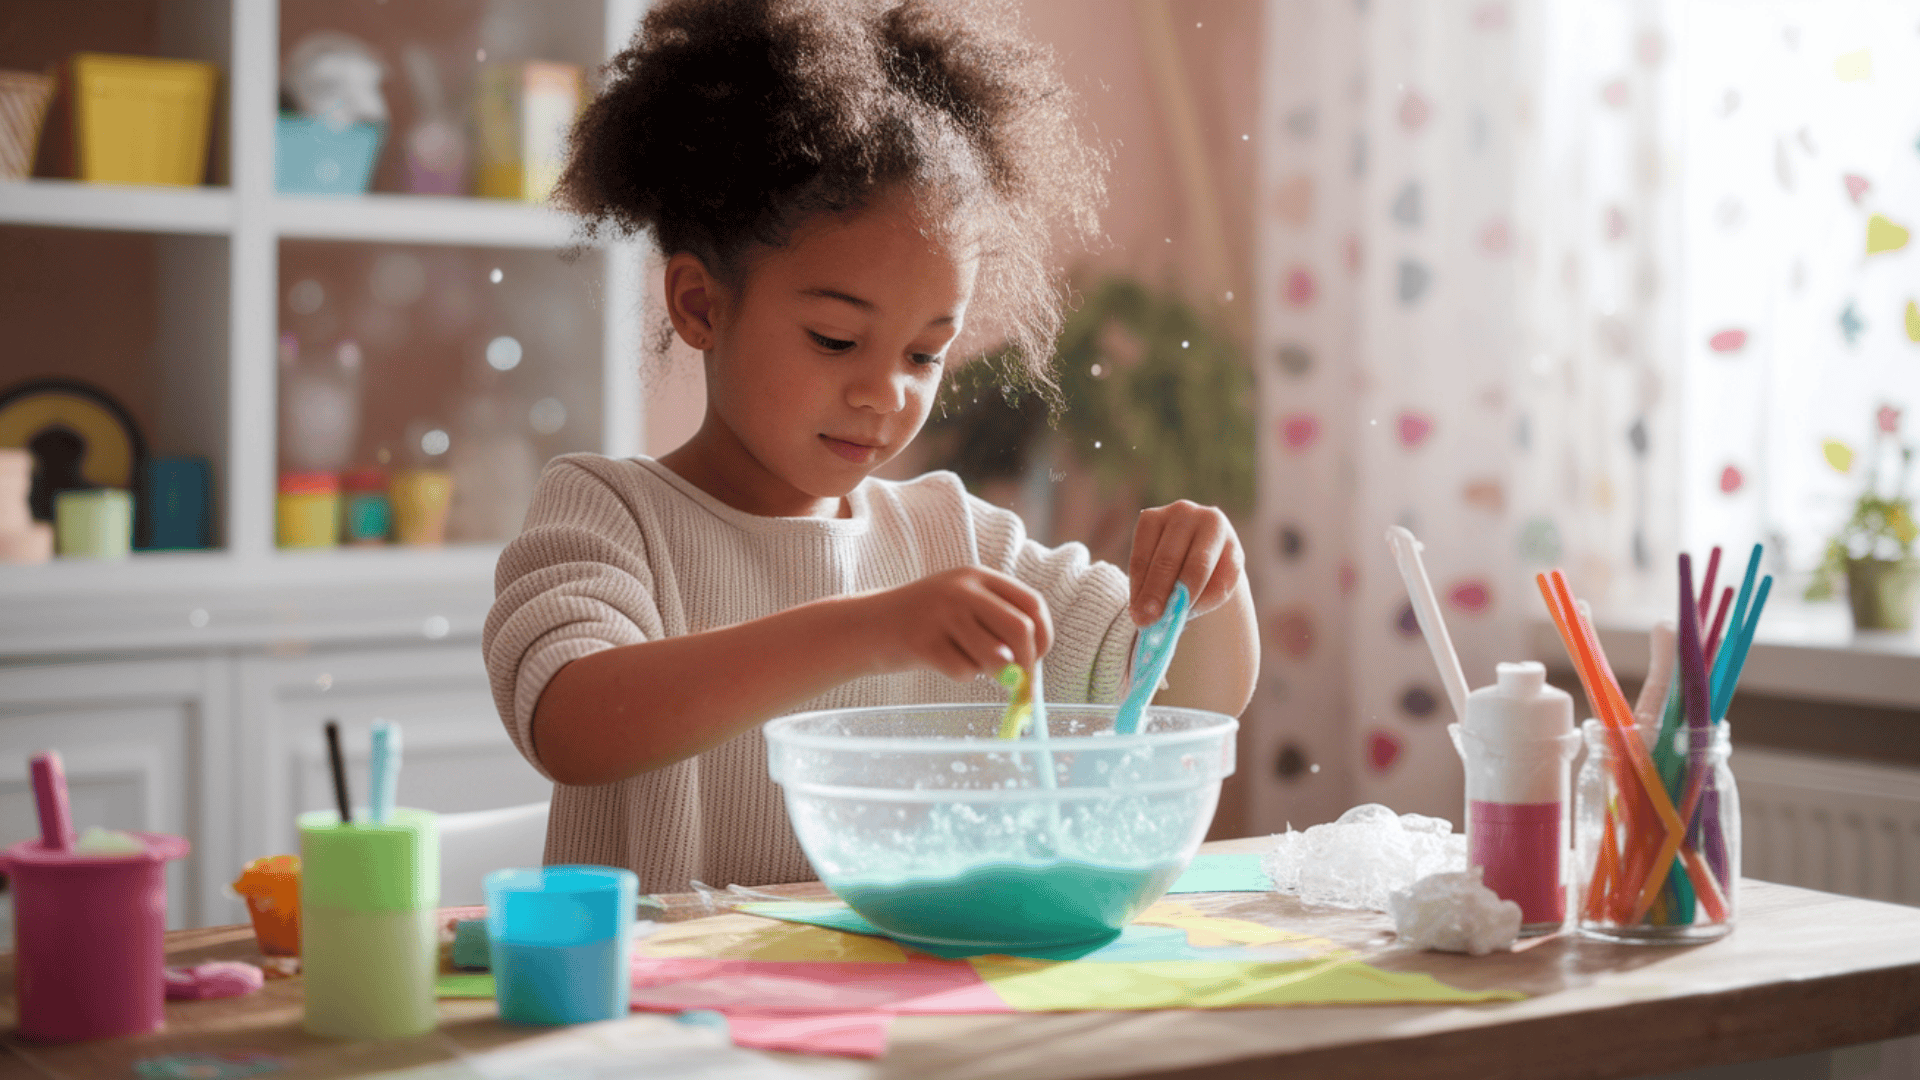
Kids absolutely love this part because they get to squeeze out all that gooey white glue!
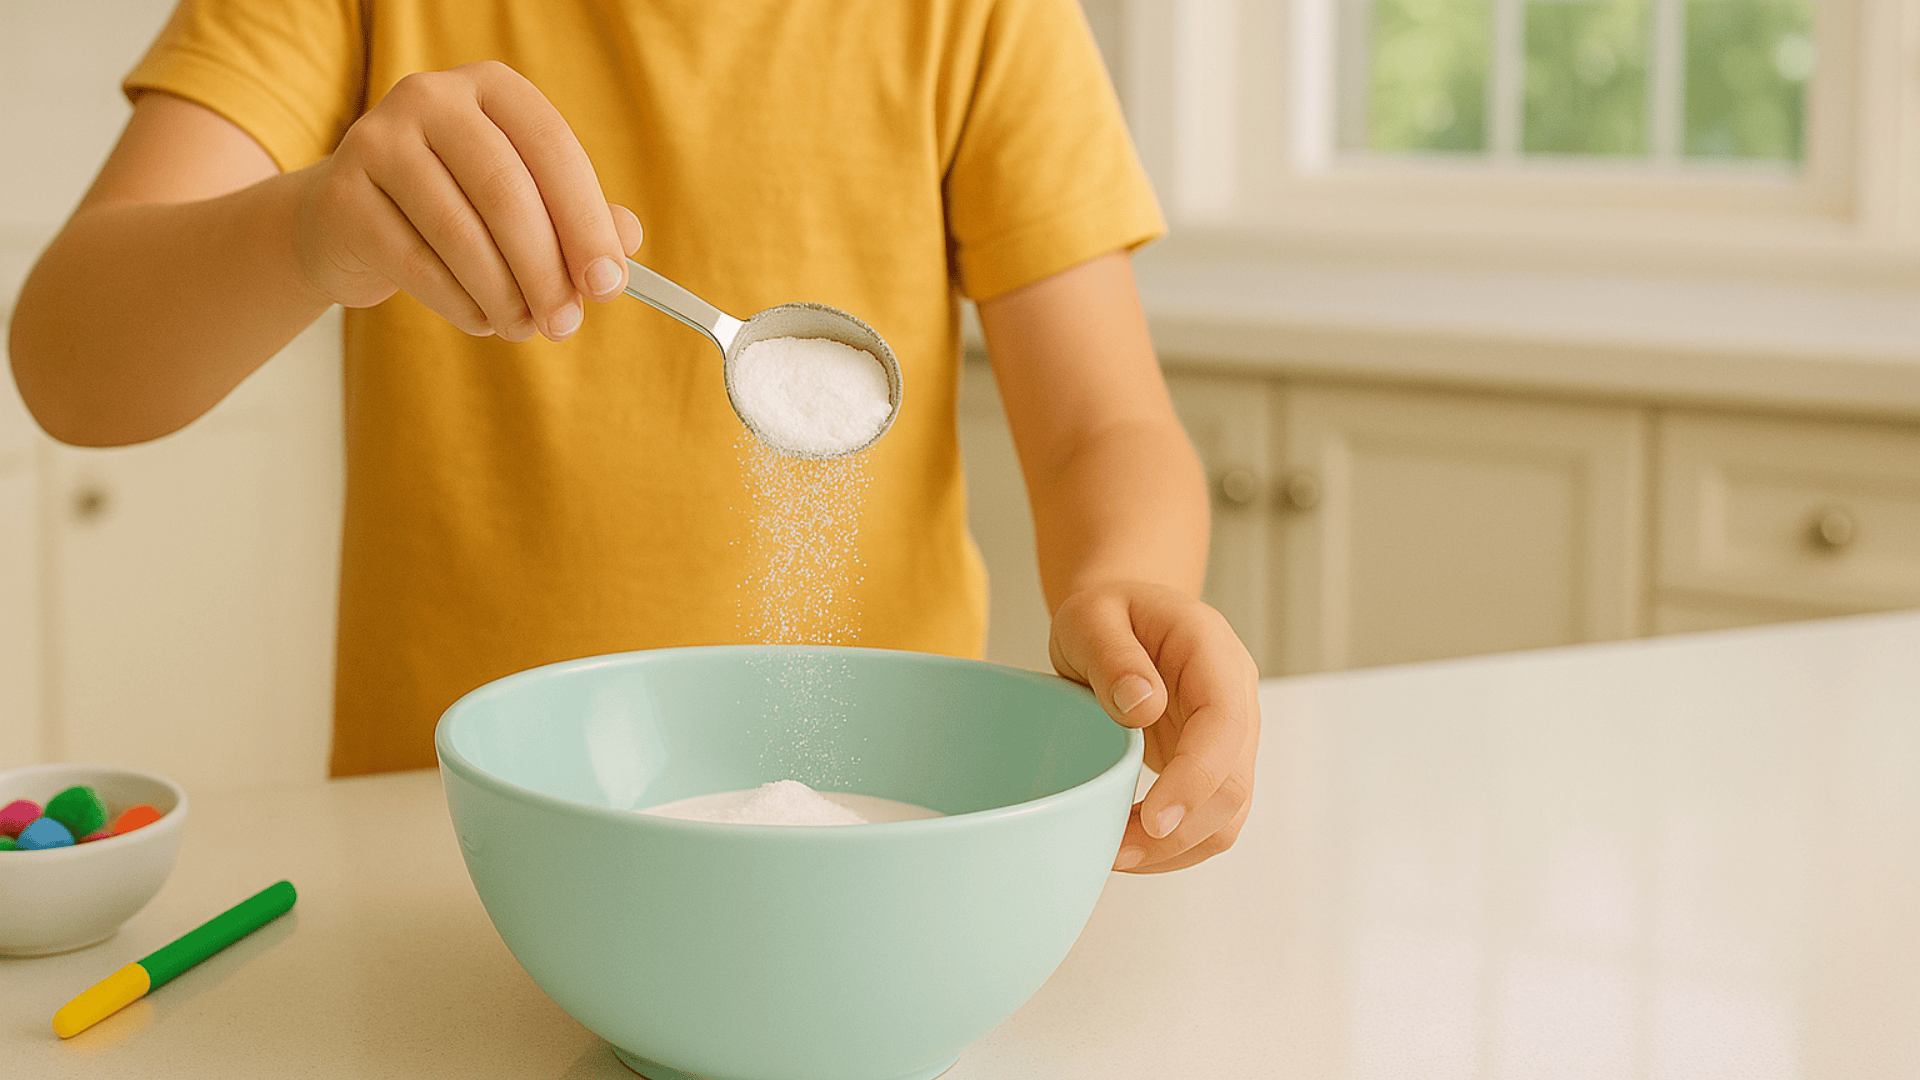
Start with exactly 1 tablespoon of baking soda measured out carefully for the best results possible.
Sprinkle it evenly all over the glue surface rather than dumping it in one big pile.
Don’t dump it all in one spot; spread it around evenly for much better mixing results.

Mix everything together with your spoon using firm, steady strokes all around the bowl’s edges.
At first, it’ll look really weird and lumpy like something went terribly wrong with your slime.
That’s totally normal!
Just keep stirring with confidence because the magic is about to happen any second.
You’ll see the amazing transformation start to happen as the mixture gets thicker and pulls together.
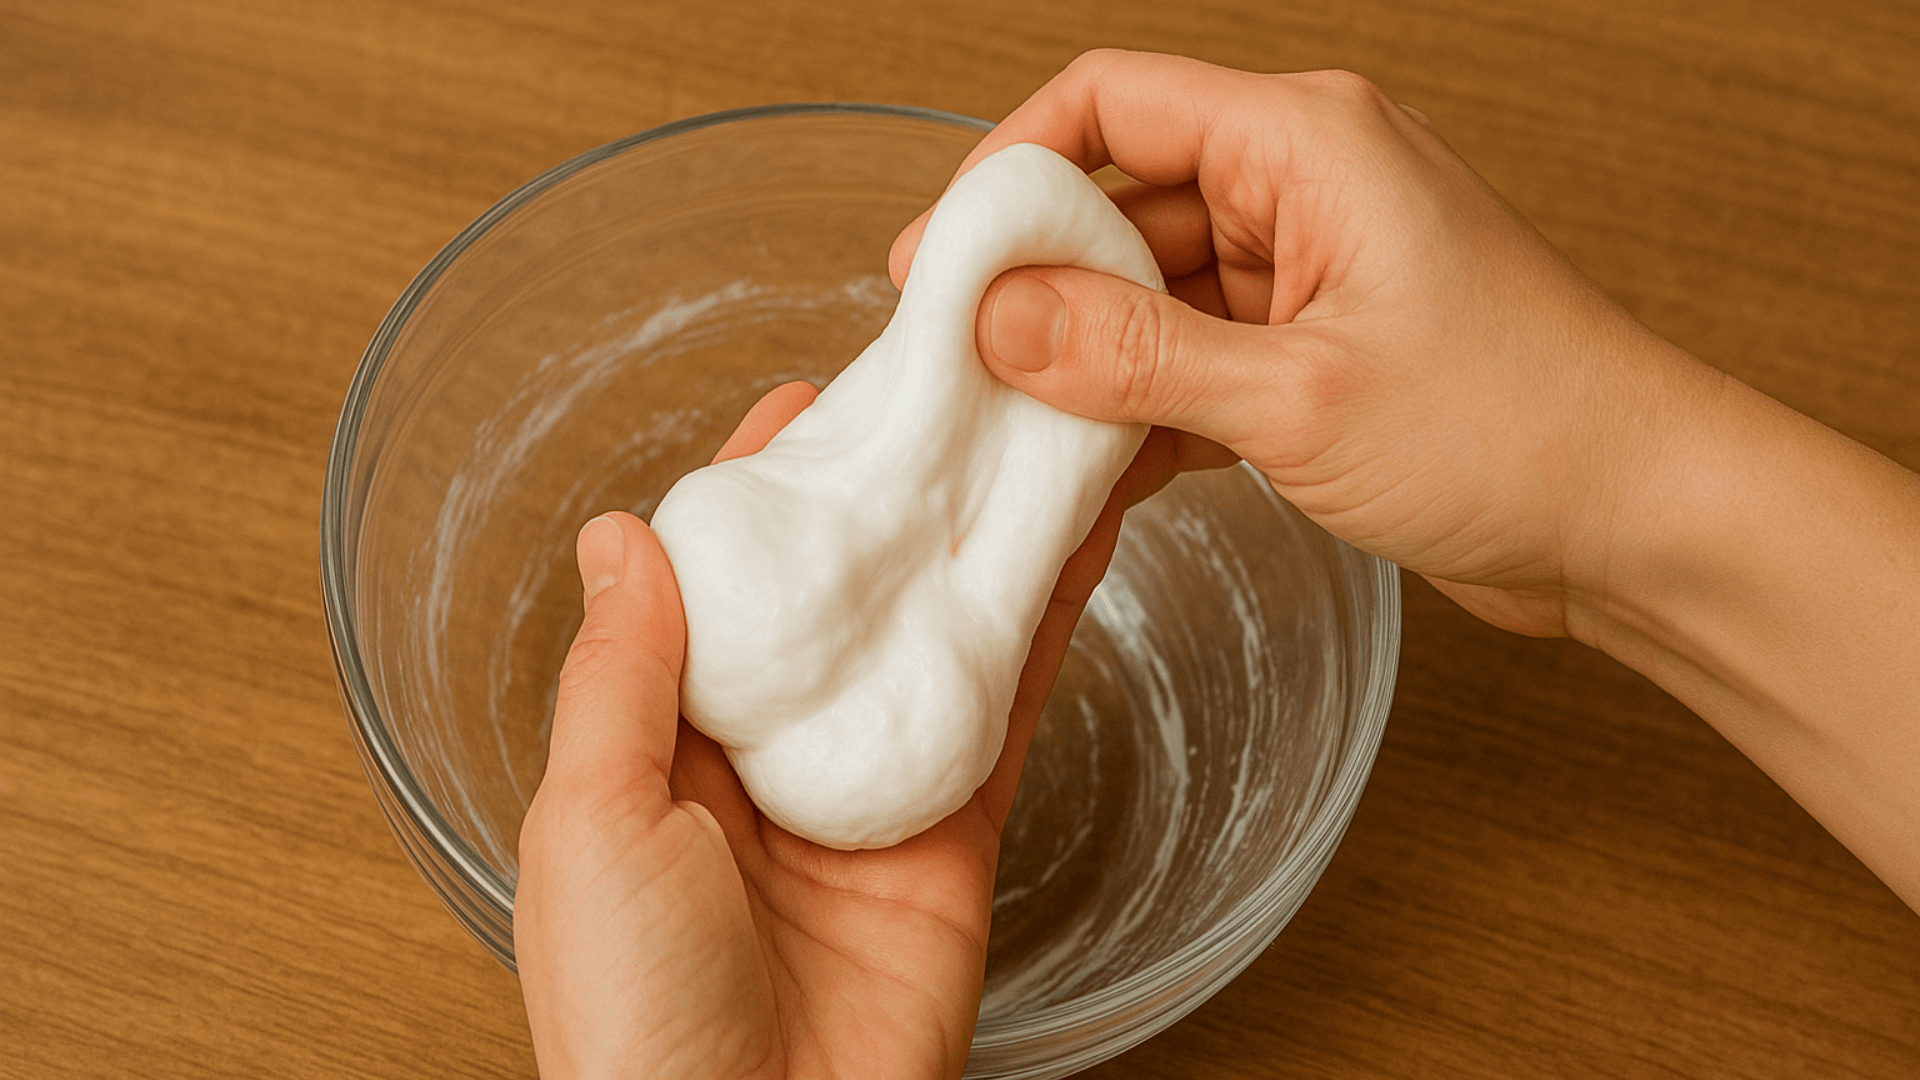
When the slime mixture starts sticking together and pulling away from the bowl’s sides, put down the spoon.
Pick up the slime blob and squish it enthusiastically with both of your clean hands.
This is definitely the most fun part! Knead it exactly like bread dough for about 2 full minutes nonstop.
Too sticky still?
Add just a tiny pinch more baking soda and knead it in really well.
Too stiff and breaking?
Just keep working it with your nice warm hands for another minute.
Every single batch is slightly different, so trust your instincts about what feels right to you.
Don’t worry if your first batch isn’t perfect.
Here’s how to fix common problems:
| PROBLEM | SOLUTION |
|---|---|
| Your slime needs more baking soda. Add just a pinch at a time. Too much will make it crumbly. | |
| It might be too cold. Warm it up in your hands for 30 seconds. Body heat works wonders! | |
| You haven’t mixed enough. Some batches need extra stirring time. Be patient – it’ll come together. | |
| You added too much baking soda. Next time, use less. For now, add a drop of warm water and knead well. |
See?
Every slime disaster has an easy fix.
Don’t give up if your first try isn’t perfect.
Even slime experts had to practice!
Before we jump into slime-making madness, let’s cover some important safety basics to keep everyone happy and mess-free.
Got slime on clothes?
Don’t panic!
Pour white vinegar on the spot, wait 5 minutes, then wash normally.
The vinegar works like magic to dissolve slime without damaging fabric.
Once you’ve mastered basic slime, it’s time to get creative with these amazing add-ins!
Add food coloring to create in bright, beautiful colors.
Mix in fine glitter for that catches the light perfectly.
Want something fluffy?
Add 2 tablespoons of shaving cream for a that feels incredible to squish.
For nighttime fun, make using glow-in-the-dark paint instead of regular coloring.
Charge it under bright light, then watch it glow in the dark!
Finally, create by adding just one drop of extract like vanilla, peppermint, or lemon for an amazing smell and extra sensory fun.
Let’s be honest, there are tons of slime recipes online, so why choose this one?
Simple: it actually works every single time without fail.
No disappointed kids or frustrated parents dealing with failed batches.
It’s incredibly cheap, too, just a dollar for glue, and you’re set.
Plus, it’s completely safe for younger kids since there’s no borax or harsh chemicals involved.
You can make it anytime without special planning or craft store runs.
Rainy day?
Perfect slime time!
Bored playdate?
You’re the hero parent who saves the day with instant fun!
Making slime doesn’t have to be complicated or messy.
This 2-ingredient recipe proves that simple is better.
Your kids will love the hands-on fun while learning basic chemistry.
You’ll love how easy it is to make and clean up.
Best of all, it’s a screen-free activity that actually holds their attention.
So what are you waiting for?
Grab that glue and baking soda, and let’s make some memories.
Happy slimming!
If you’re interested in more informative DIY Projects content, feel free to and see other blogs you might enjoy.