How to Draw a Spiderweb that Looks Real!
Ever wondered how to draw a spiderweb that looks real?
Learning how to draw a spiderweb is easier than you might think!
With just a few simple steps, you can create creepy decorations or add cool details to your artwork.
If you’re a beginner or just looking for a fun activity, we will show you exactly how to make a perfect web with a spider.
No fancy art supplies needed, just grab a pen and paper, and you’ll be drawing amazing spiderwebs in minutes.
Follow along as we break it down for you!
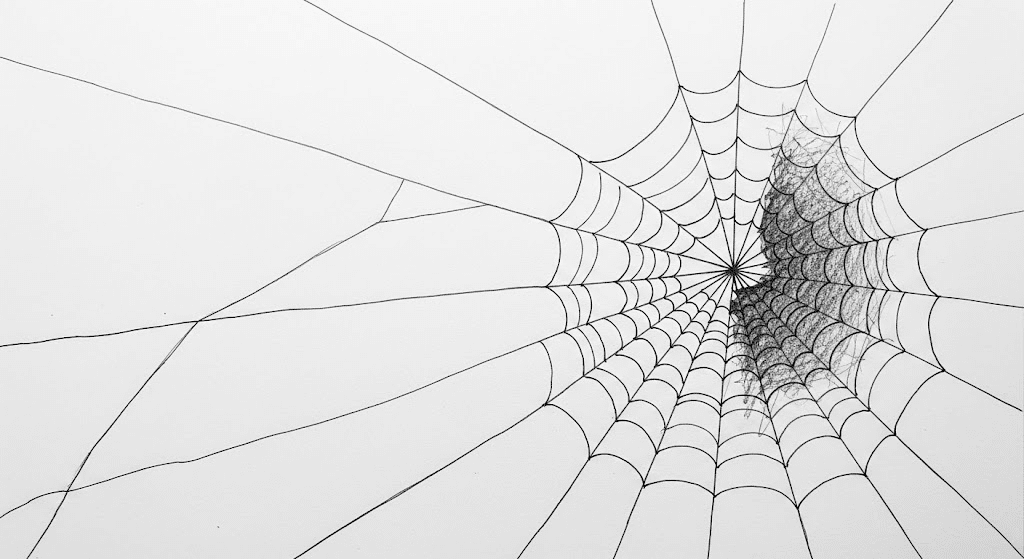
Picture a bicycle wheel; the spokes, going from the center to the edge, are like a spider’s radial lines.
The spiral rings wrap around like circles, connecting all the spokes together.
Cool, right?
Orb webs are those perfect, circular webs you see in gardens, super-organized and symmetrical.
Irregular webs may look messy, but they work just as well, much like cobwebs in corners.
Why does spacing matter?
Think about it – if the gaps are too big, flies escape.
Too small?
The spider wastes silk and energy.
Spiders are essentially tiny engineers, calculating the perfect trap design.
What type of web do you think would catch the most bugs?
Ready to become a web artist? You only need two things – seriously, that’s it!
That’s all you need!
No fancy art supplies, no expensive tools.
This makes spiderweb drawing perfect for doodling in class, at home, or anywhere you get bored.
The best part?
Since the materials are so simple, you can focus on mastering the technique instead of worrying about having the “right” stuff.
Even professional artists started with basic supplies!
Got your marker and paper ready?
Let’s see what kind of web you can spin!
Drawing a spiderweb with a spider is fun and simple.
You can create a spooky decoration for Halloween or practice your drawing skills.
Follow these steps, and you’ll have an amazing spiderweb drawing in no time!
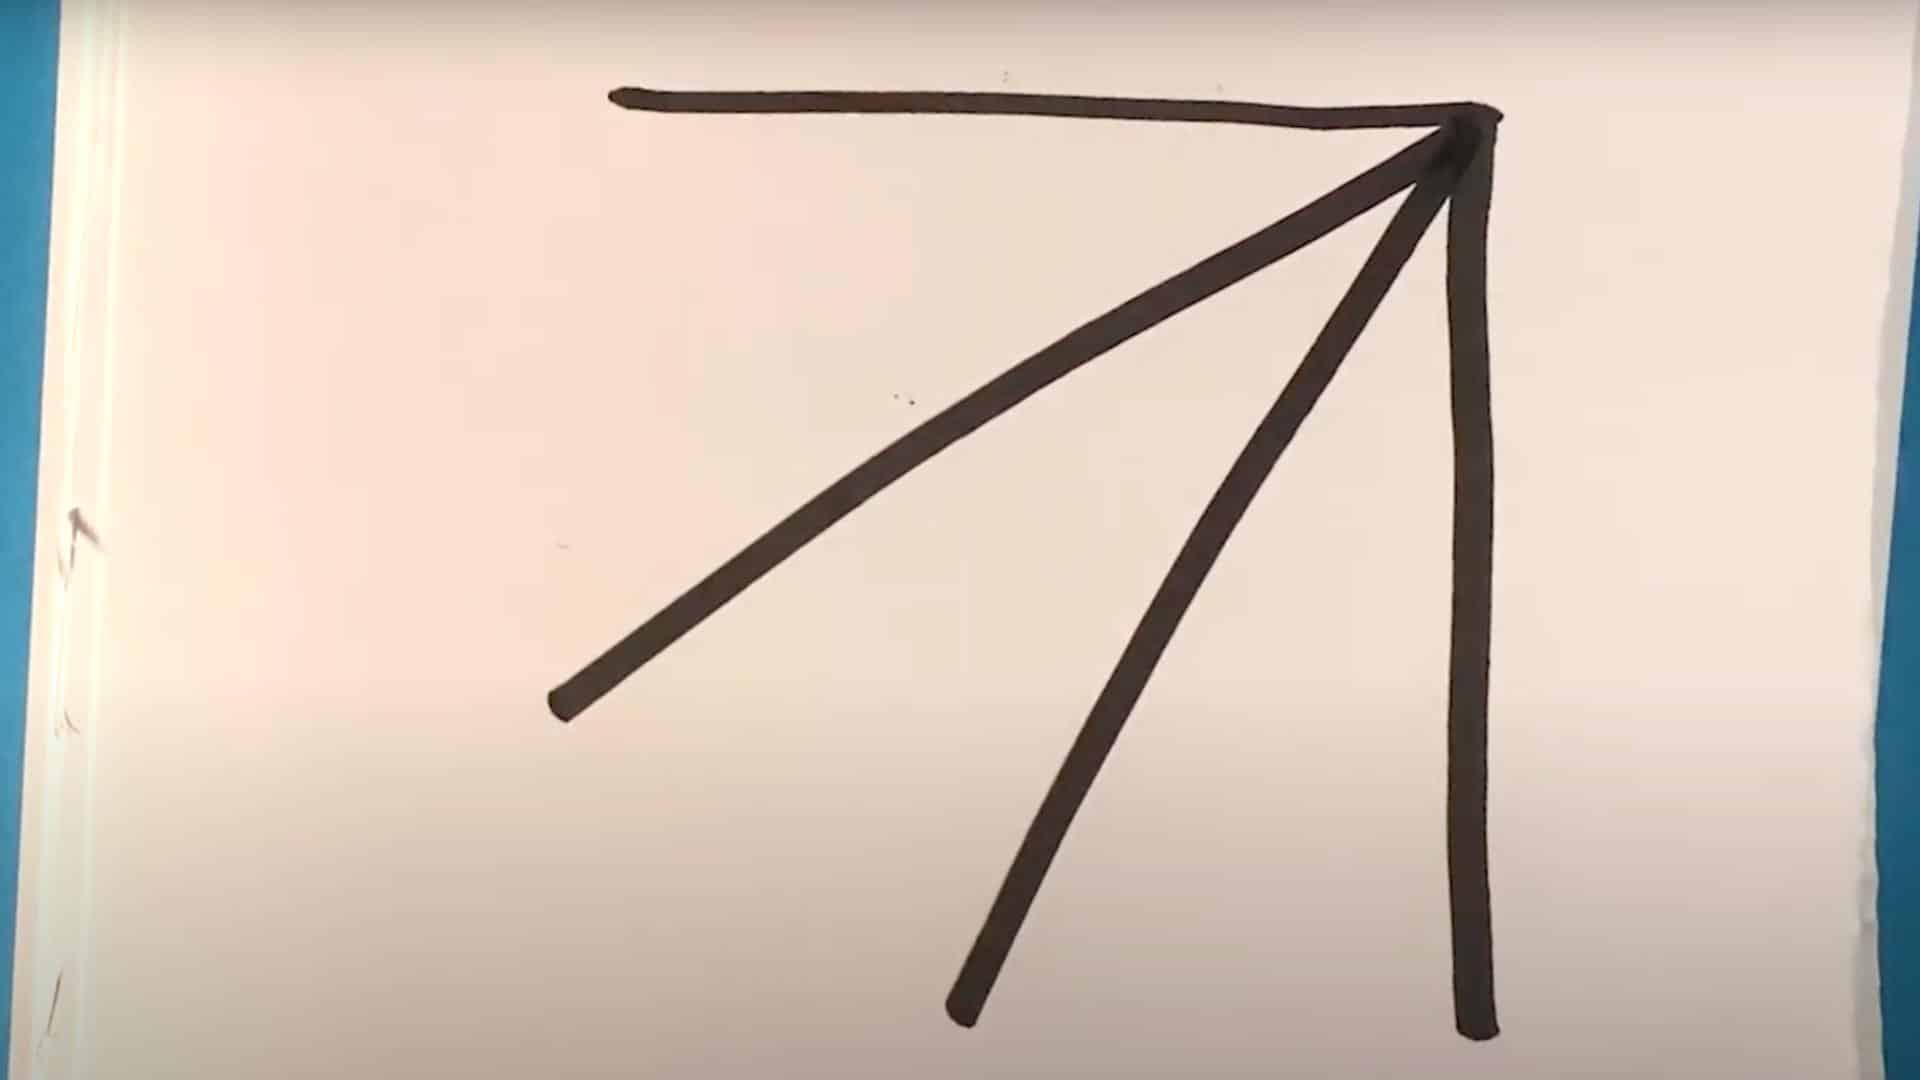
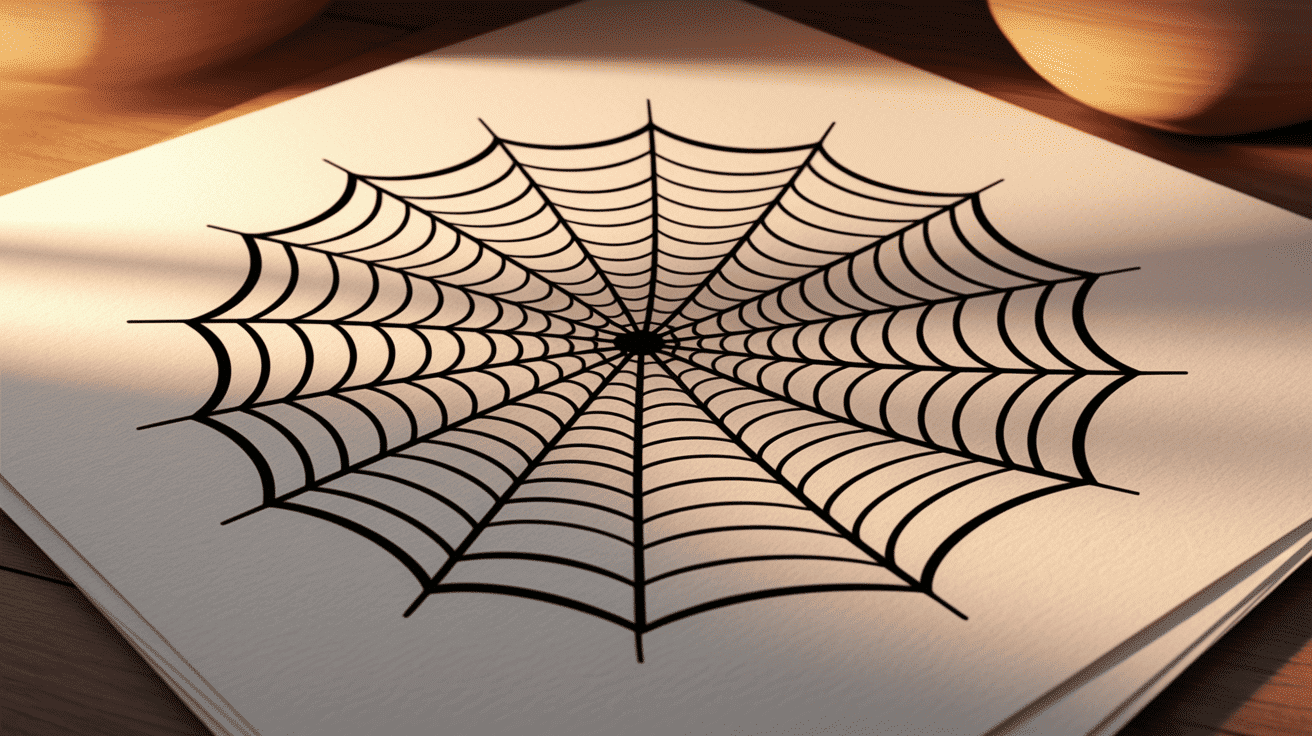
First, grab your marker and draw one straight line going up and down on your paper.
This is your starting point.
Now add about 6-8 more lines extending outward from the center, similar to the spokes of a bicycle wheel.
Make sure your lines go in different directions.
Don’t worry if they aren’t perfectly straight!
These lines are the strong parts of the web that hold everything together.
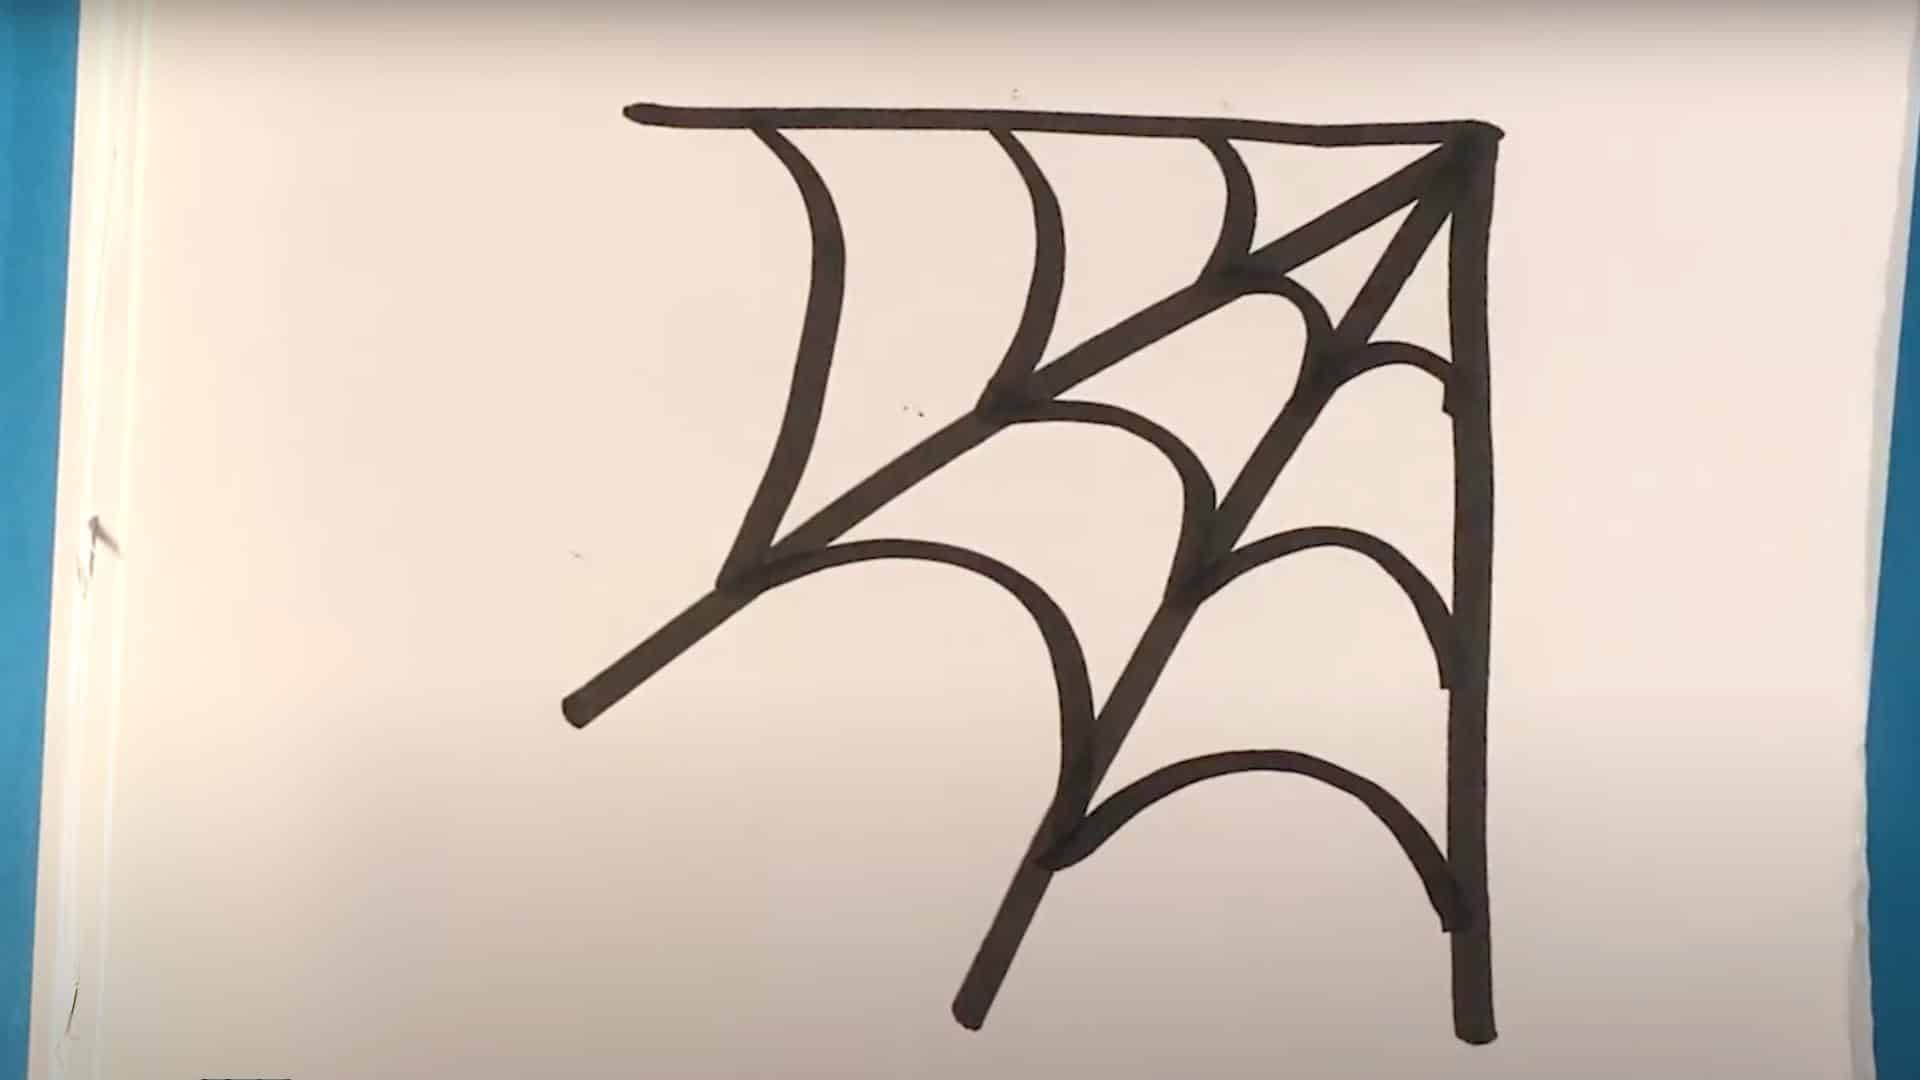
Now it’s time to connect those lines with spirals. Start near the middle.
Draw curved lines between each spoke. Make them dip inward a little bit.
Then draw another ring a little farther out.
Keep going until you reach the edge of your web.
The spiral lines should be closer together near the center and spread out more as you move outward.
This makes your web look more real!
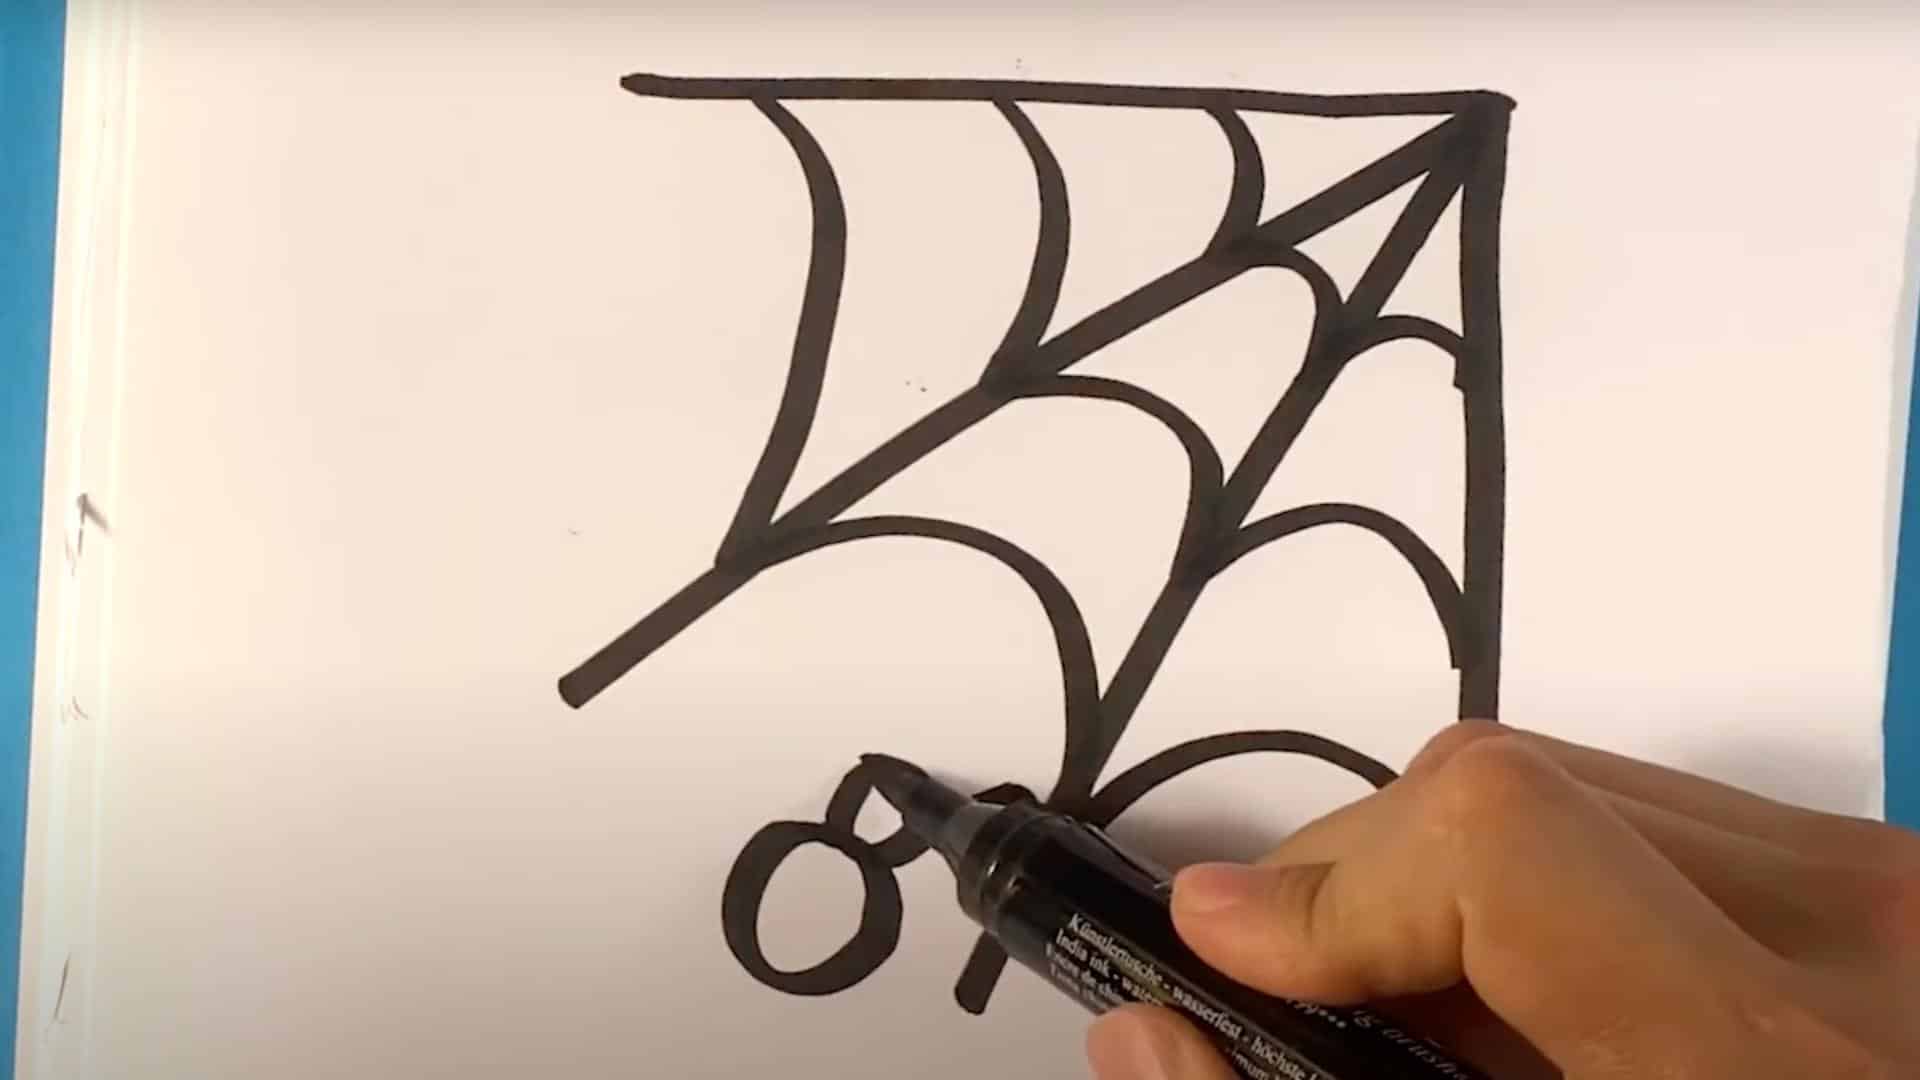
Your web needs a spider! Find a spot on your web where you want to place it.
Draw a small circle for the front part of the body (the head).
Then draw a bigger oval or circle right behind it for the back part (the abdomen).
You can make the back part round or a bit egg-shaped.
These two shapes together make up your spider’s body.
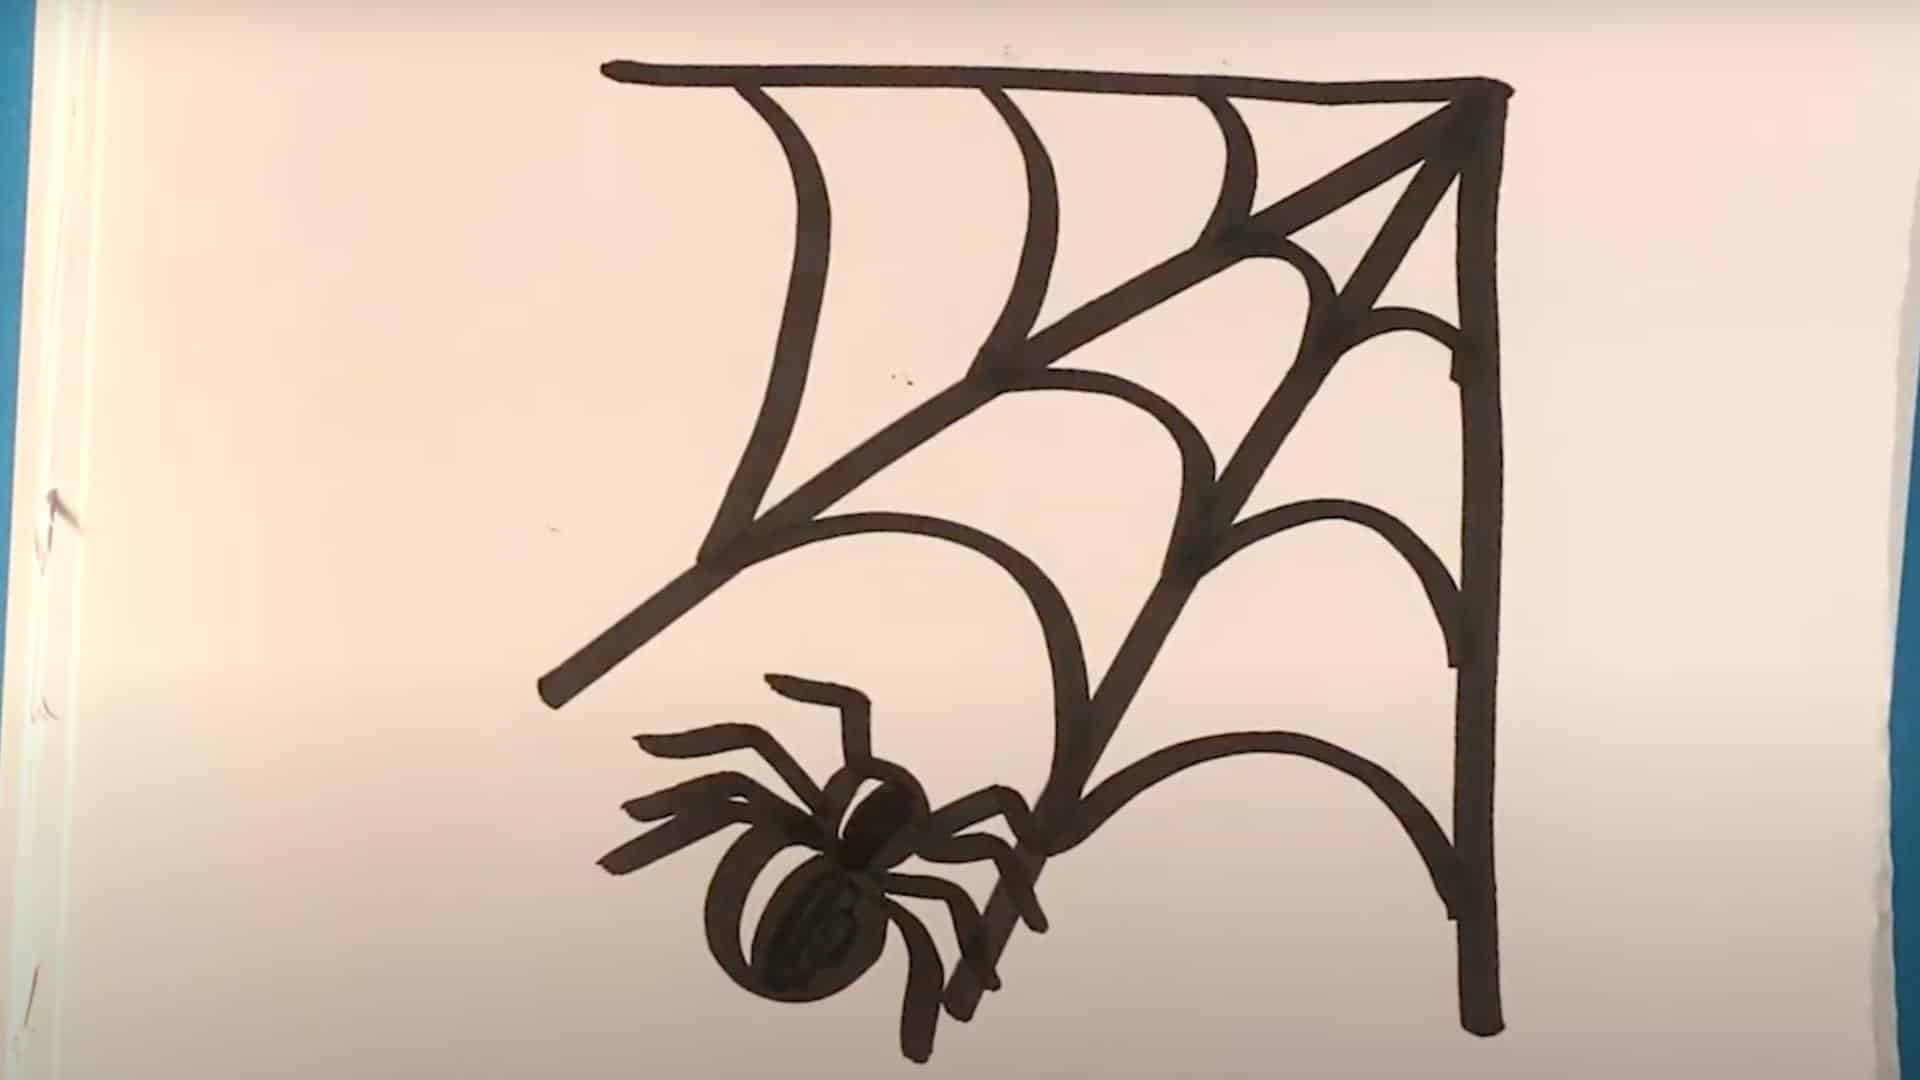
Spiders have eight legs, with four on each side.
Draw thin, curved lines coming out from the body. Make them bend in the middle, like knees.
The legs should be about twice as long as the spider’s body.
Color in the spider’s body with your marker.
If you’d like, leave a tiny white spot to highlight the area.
This makes your spider look more alive!
Want your spiderweb to look like the real thing?
Here are some easy tricks that artists use to make their drawings look more lifelike.
Try these simple tips to take your spiderweb drawing to the next level:
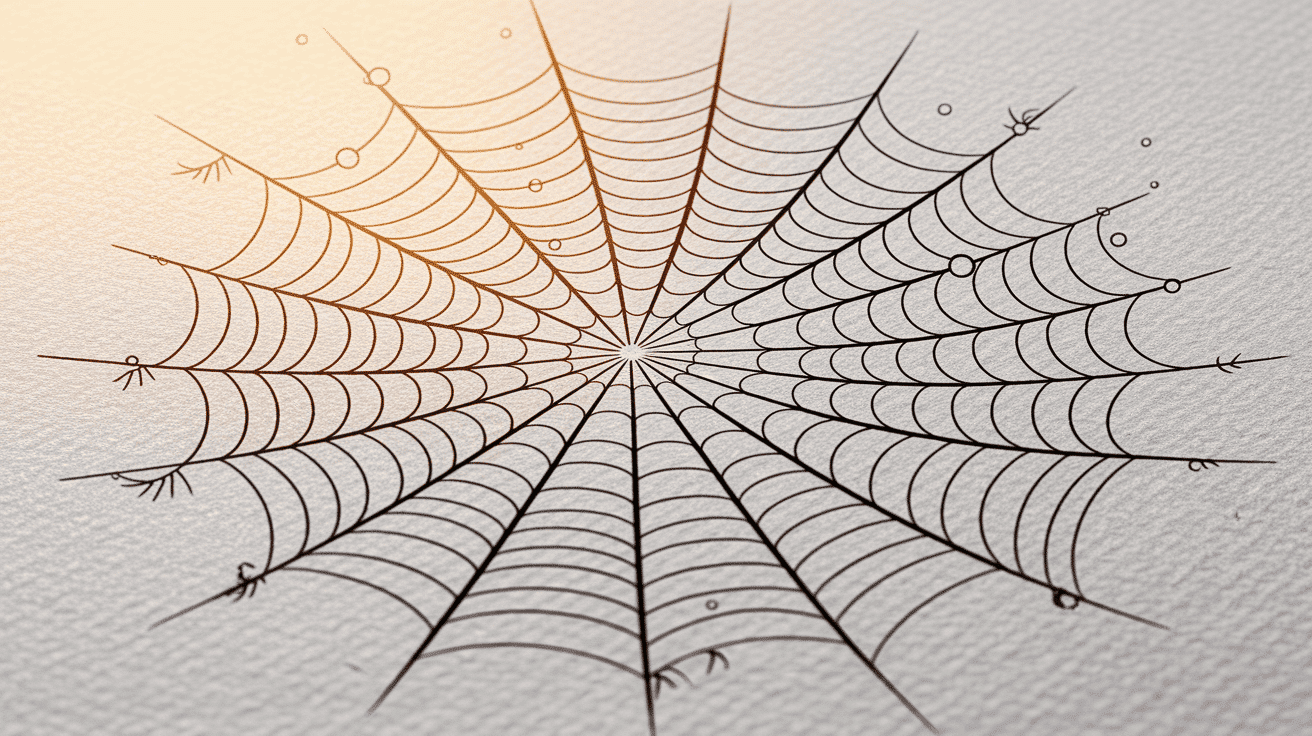
Remember, real spiderwebs aren’t perfect!
Looking at pictures of actual spiderwebs can give you great ideas.
The more you practice, the better your spiderwebs will look.
Once you know how to draw a basic spiderweb, you can try different styles and variations!
These fun alternatives are easy to learn and will help you become better at drawing.
You can choose the style that fits your project best or try them all for practice.
The spiral web is one of the easiest variations to draw.
Start with a spiral that goes round and round from the center outward.
Then add straight lines coming out from the middle, like sun rays.
This type of web looks like a target or bullseye.
It’s perfect for beginners because you don’t need to worry about complex patterns.
Kids especially love drawing this simple version!
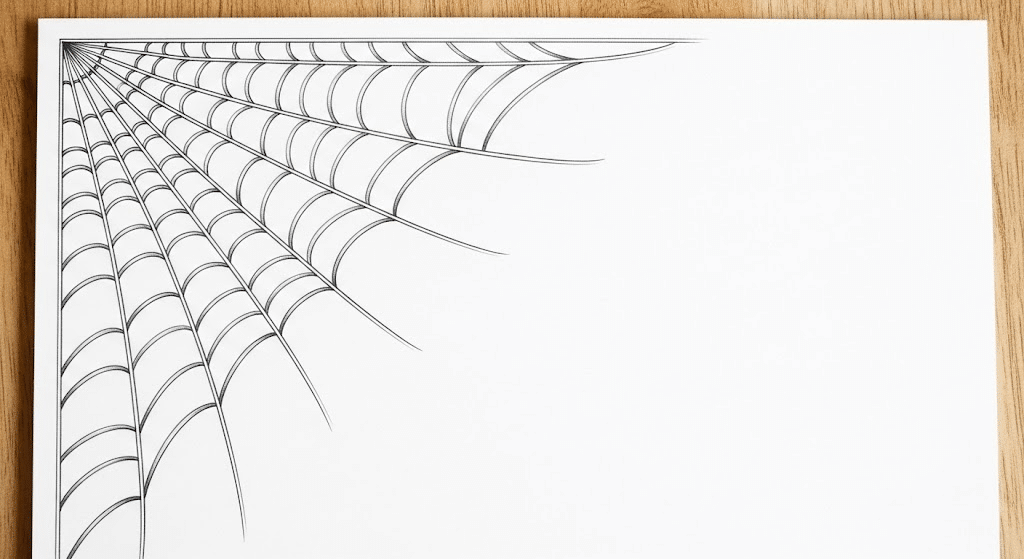
A corner web fits perfectly in the corner of a page or wall.
Draw an arc from one side of the corner to the other.
Then add more arc lines below it, getting bigger each time.
Connect these arcs with straight lines coming from the corner.
This style is great for decorating the edges of pictures or Halloween cards.
It uses less space but still looks really cool!
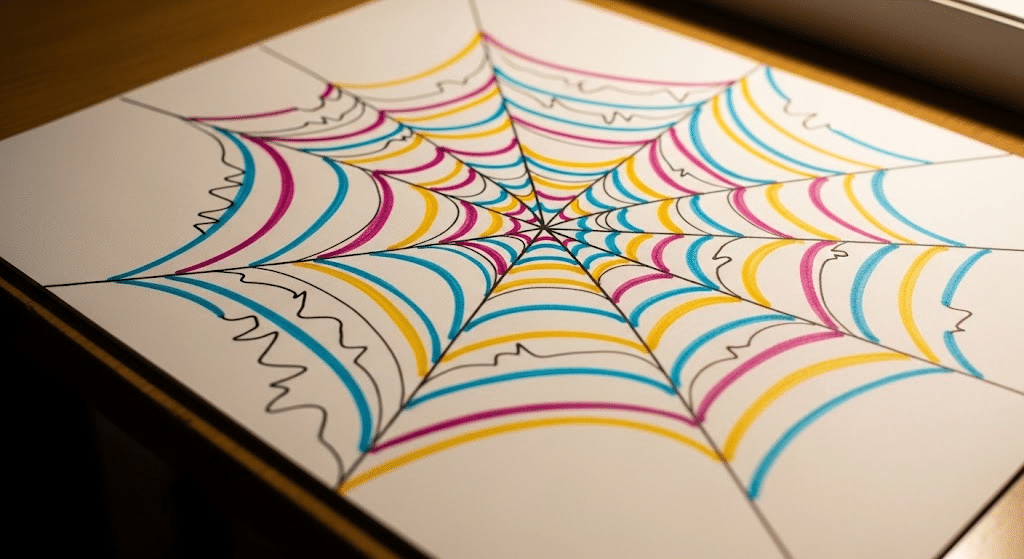
The abstract web doesn’t need to look realistic at all.
Draw wavy or zigzag lines instead of straight ones.
Mix up the spacing between lines.
Add extra loops or breaks in the pattern.
You can even use different colors!
This style lets you be really creative and make your web unique.
It’s perfect for art projects when you want something more imaginative and fun.
Even experienced artists can make mistakes when drawing spiderwebs.
Being aware of these common problems will help you create better webs right from the start.
Don’t worry if your first few webs aren’t perfect!
Everyone makes mistakes when learning something new.
Practice will help you avoid these common problems, and soon you’ll be drawing amazing spiderwebs that look just like the real thing.
Now you know how to draw a spiderweb that looks amazing!
With these simple steps and tips, you can create webs that look almost real.
Remember to practice regularly to improve.
How to draw a spiderweb isn’t just a fun skill, it’s perfect for Halloween decorations, art projects, or just doodling when you’re bored.
Try drawing webs of different sizes or adding color for an extra touch of flair.
The most important thing is to have fun with it!
What will you add to your spiderweb drawing? Maybe more spiders or some caught insects?
The possibilities are endless!
Enjoyed sketching your spiderweb?
You’ll love what’s spinning in our and categories. Take a look!